Showing posts with label wainscoting. Show all posts

Tuesday, June 5, 2012

Dining Room—Construction Done!

We have a dining room again!  Can you believe we got it all done in just two weeks?!

I'm really happy with how everything turned out despite all of the noise and dust.  Two weeks post-construction and I can vaguely remember how bad the dust really was.  I think about how amazing it is to look at our "before" pictures and see the difference we've made, especially since 80% of this project was DIY!
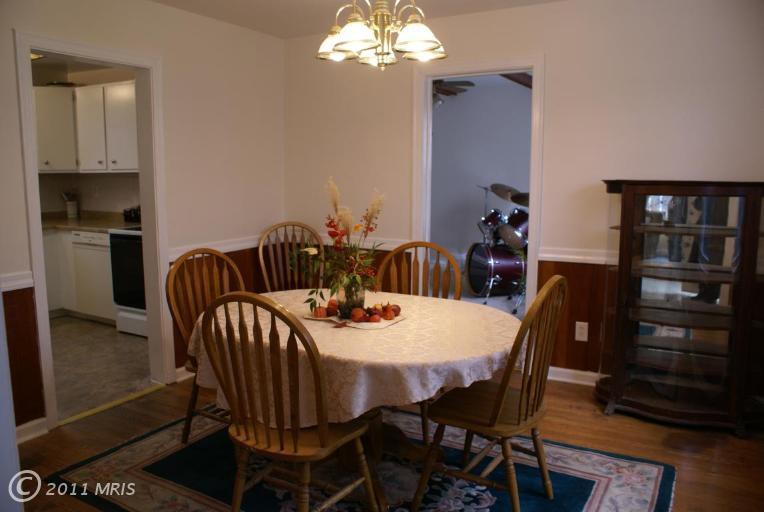
Before: I'm so excited that we took this room from 70s drab

After: To modern classic!  (Don't mind the first apartment furniture!)


Here's the recap:

We demo'ed the room to the studs, took down a load bearing wall, and added a beam.  We outsourced the  beam building and our HM also stuck around to teach DH and I how to remove the existing wall and replace it with the beam.


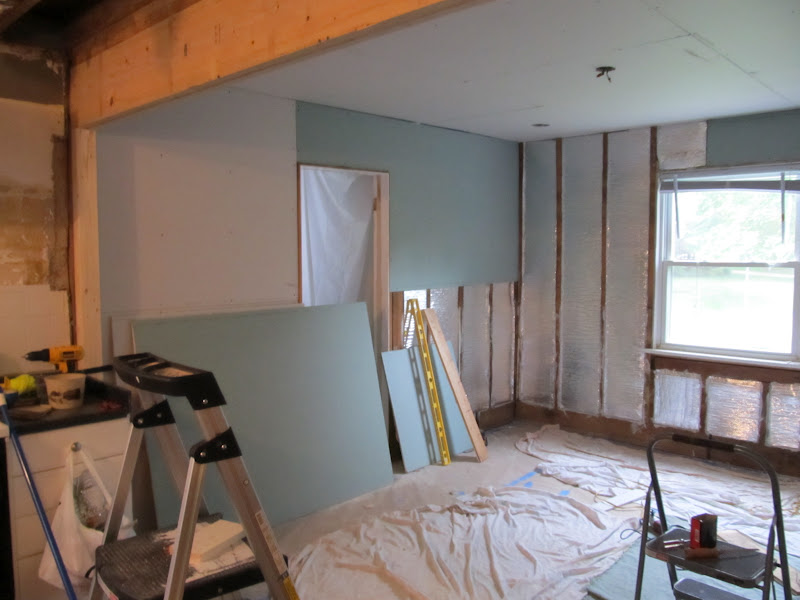
We had an electrician wire the room for recessed lighting—electricity is not something I'm comfortable around yet—added insulation, and drywalled our first room!


We breezed through the remaining items on our to-do list after the drywall mud dried.  Once dry, we sanded, painted, added molding, designed and built the wainscoting.


I can't wait to create a dining room inspiration board and find great furniture!  I really want a round dining room dinner table and funky chairs.  


What do you think?

Dollars and Cents


Yep, I admit it, I blew my budget.   But there is good news; we finished the project on time!  Well almost, we still need to caulk the crown molding seams.  

We blew our budget by $500 not factoring in the estimated $500 we lost in materials in the coffered ceiling debacle.  So $500 isn't really that bad right?

Where did our $3500 go? A large chuck of our budget went to the expected big ticket items including the load bearing wall ($1300), the removal of the construction material ($500), and recessed lighting ($400).  A big chunk also went to the expensive crown molding ($350) DH fell in love with while traveling on our honeymoon.  Insulation, paint, drywall, the remaining molding and wainscoting cost an estimated $950.  

Was it worth it?  Definitely.  The removal of the load bearing wall really opens up the space and flow and it's a great solution to the 600sqf addition that would take forever to save for.

Wednesday, May 16, 2012

Almost There— Dining Room

We got a ton done this weekend!  It's actually starting to look like we have a dining room again.  And, to be honest, I'm so ready for this project to be over.   Sixteen days in and I need a break from all of the dust and noise.  I need to eat at a dining room table again and not on my couch.
  
We started the weekend sanding the room and creating a dust storm.  TIP-  OPEN WINDOWS and cover the doorways when you do this.

It took a few hours to sand the drywall mud

DH looks like he's smiling as he applies drywall primer and sealer, but don't be fooled he was as miserable as I was. 

PVA Primer and Sealer preps new drywall for paint

We have wainscoting in the living room and want to continue the pattern through out the house.  measured the wall 36" from the floor and used a laser leveler and blue chalk to mark where we'd paint the blue and white paint.  


Mom and Dad lending a hand

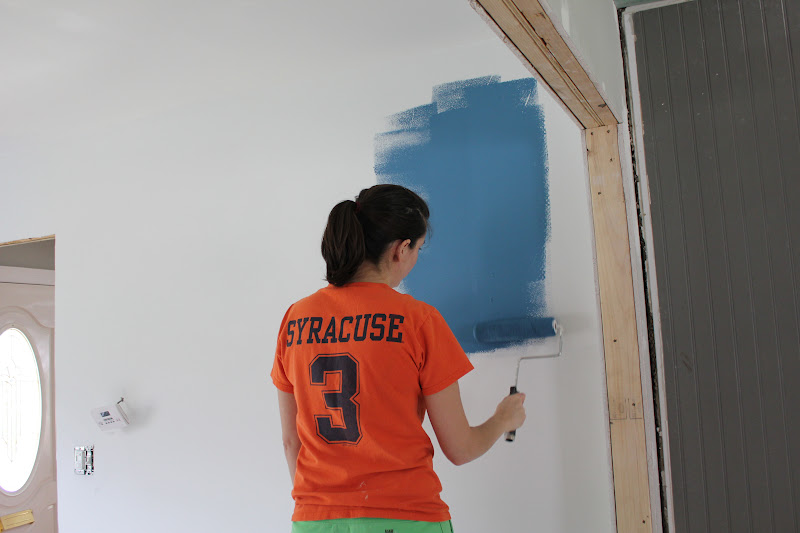
Nine months after moving in DH and I can paint in our sleep!  We used Benjamin Moore's Santa Monica blue in a flat finish for the top of the wall, Behr's Snow Fall in semi-gloss for the wainscoting, and Behr's Swan Wing for the ceiling.  We painted the ceiling and moldings in different shades of white so that they don't blend into each other and you can easily see the crown molding's design when up against the ceiling.


After painting we tackled the coffered ceilings.  Unfortunately, DIY coffered ceilings weren't meant to be and I'm going to need a separate post to walk you through my melt down.

What DIY projects did you tackle this weekend?  How did you handle your first major construction project?