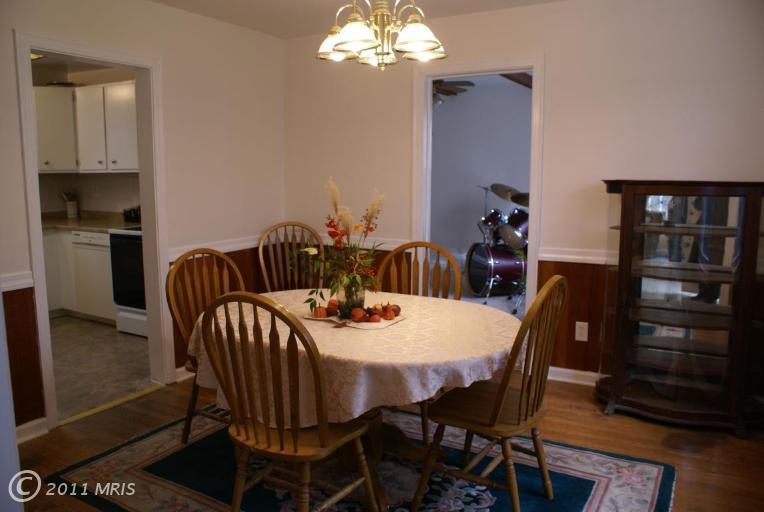
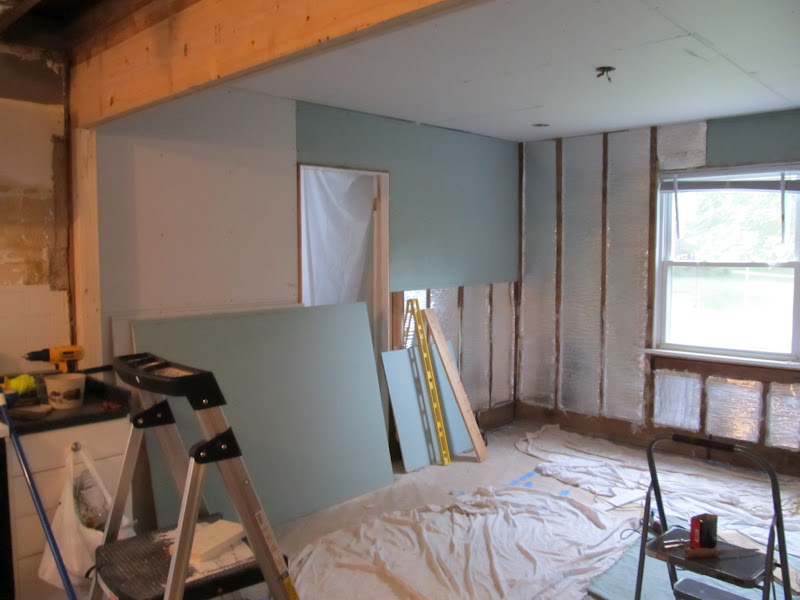
That's exactly how I felt about our 117 year old brick fireplace--it was built to obstruct my waterview! The fireplace was three stories tall emerging from the basement to the family room, through the master bedroom, up the attic and out the roof. It's our very own Green Monster--but with red brick and faux panel.


Although we try to save as much as we can--took us forever to safely remove all of the moldings-- I think DH and I both accepted early on that there probably wasn't a way to save the Red Mo nster from demolition. We spent weeks working with our architect to figure out a way to save the fireplace while still getting our views.
Unfortunately, there was no way to save the Red Monster, no matter how we drew it out. One of the biggest reasons we purchased this home was because of all of the light and the amazing views. Although 117, it just couldn't stay.


Unfortunately, there was no way to save the Red Monster, no matter how we drew it out. One of the biggest reasons we purchased this home was because of all of the light and the amazing views. Although 117, it just couldn't stay.


Before we began the demo, we had our plans approved by the city Building Inspector and we had to figure out if it was structurally feasible to take it down. We had a chimney expert inspect the structure-- we learned that most chimneys are not structural and don't hold anything up. Although the chimney wasn't holding anything up, we did come across plumbing that was placed flush with the chimney wall and all of those pipes will need relocating.
There was no asbestos and we learned it cost about $5000 for the chimney to be removed. There's a lot that we can do with $5000, heck, we need the $5k for everything else. So to DH it made sense that we DIY the demo. For me? No joke, that roof slop alone was worth me paying a professional to get up there and do it. Unfortunately, there was no way I was going to convince DH of that, so up he went.
Taking down a chimney--or two as we took the one that vented the old oil-heating system-- was a lot of hard work and our backs are still recovering. Those bricks from the late 1800s were meant to last FOREVER! It took DH, my dad, BIL, and myself 4 solid weekends to take both of those chimneys down. There were a few heart attacks along the way--the steep roof could have been a killer. There was so much old DUST. DO NOT skip on investing in really really good masks. We had to patch the roof, add floor joists to the new empty area, and I ended up making a lot of runs taking the bricks from the inside into the dumpster.
In the end, I'm a little sad to see the Red Monster go, but I can't wait to see the ocean while standing in my kitchen.
Fact: Bricks are heavy!
 |
| The DUST! |

 |
| DH trying not to get himself killed |


 |
| Second Floor Chimney Gone! |

 |
| Open Concept |
 |
| Our clean up system wasn't exactly the Ford Assembly Line |
Fun Fact: What did we do with all of those bricks? We placed an ad on Craigslist. If you could haul the bricks away, you could have them for free. Many of the bricks were in really good shape and could be recycled and used for an outdoor patio or walkway. Giving them away was also a cost-saving measure as we had weight restrictions with our dumpster.
Money and Cents:
Demo: Took 4 weekends for two chimneys, but aside from our time, it cost nothing to do it ourselves. We took wood from the demo and extra shingles from the garage to patch the roof. The joists were covered under our framing contract--more on that later!
Savings: About $4000 after dumpster and joist-framing costs